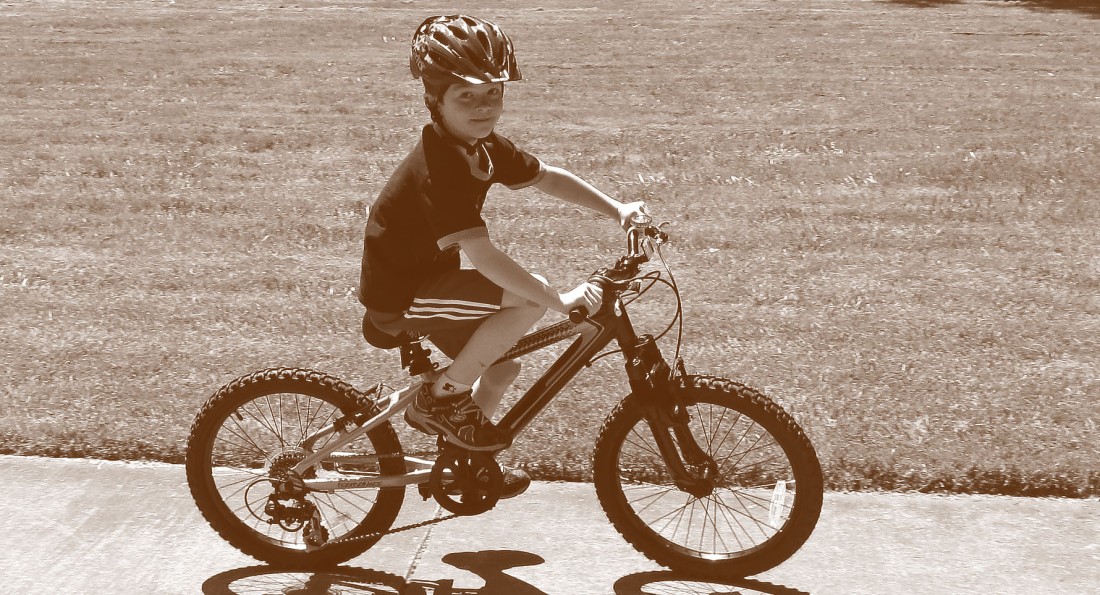
Almost any portrait can be turned into an HDR. As shown above, the before picture featured was a little shaky but we made it HDR. The following tutorial will give a step-by-step of my process, and you can follow along by downloading the photo given inside the tutorial or you your own(results may vary).
To follow along at your own pace, download the .pdf here
*After the .pdf has loaded, please hit the download button, please open in adobe acrobat
The quick video version is below
Begin by downloading the original photo and opening it in photoshop.
In photoshop we will start by making the photo as HDR as possible.
At the top, select Image>Adjustments>HDR Toning
Fill in the following with:
Radius: 90
Strength: 1.05
Gamma: -1.79
Exposure: -1.04
Detail: +57
Saturation: +1
Select ok
Now we have a nice Image but lets make it look more realistic and dramatic.
At the top, select Filter>Camera Raw Filter
Fill in the following with:
Contrast: +34
Highlights: -47
Shadows: -11
Whites: +38
Blacks: -13
Clarity: +40
Vibrance: -33
Saturation: +3
Select ok
Lets add some separation between the subject and background.
At the top, select Filter>Blur>Gaussian Blur
Change the Radius to 9.3
Select ok
Create a Layer Mask on Background copy
Fill the Layer Mask with Black
Select a Medium Brush with 25% Hardness
Brush white behind the subject on the Layer Mask until satisfied
You are all done congrats.

